| Componentes | Cantidad | Observaciones |
|---|---|---|
| ESP32 | 1 | |
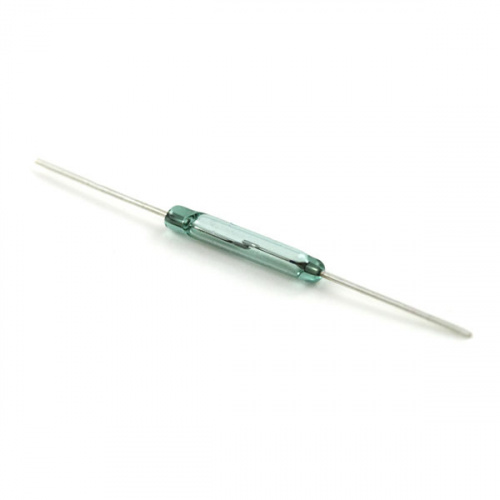
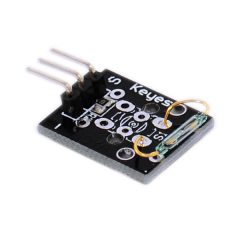
| KY-021 MINI SWITCH | 1 | Disponible en el 37 sensor Kit. Para mas información sobre este puede consultar la pagina KY-021 MINI MAGNETIC REED SWITCH MODULE (link) |
| Parametro | Valor |
|---|---|
| Name | Nombre del proyecto (REED-SWITCH-ESP32 para este ejemplo) |
| Board | NodeMCU-32S (Board disponible en el laboratorio) |
| Framework | Arduino (Es el que hemos manejado) |